Marathon Injury Recovery: 3 Strategies That Helped Me Keep Training
Training for my first marathon was going better than I could have imagined—until it suddenly wasn’t.
The injury happened during a strength session while performing front-racked box squats. I had jumped ahead in my training cycle, progressed the weight too quickly, and was experimenting with a small mechanical change in my squat.
On the last rep of my final set, I stood up and immediately felt pain shoot down the front of my leg.
I was able to rack the bar and walk around, convincing myself it was probably nothing serious.
The next day, I headed out for my scheduled long run at Waterton Canyon. My final five miles were downhill, and with every step I could feel my quad and hip flexor becoming increasingly sore. Over the next few days, the pain continued to worsen. Simple movements—like stepping out of the driver’s seat of my car—became difficult.
Mentally, I felt defeated.
My immediate thought was that I wouldn’t be able to run the marathon I had spent months preparing for.
This training cycle had been different from any before. In previous marathon builds, I consistently struggled around mile 14 because I didn’t have a solid fueling strategy. But this time, working with my coach, Phil Buckley, everything had started to click. I had developed a much better nutrition plan, felt stronger during long runs, and even finished a recent 16-mile run feeling surprisingly fresh.
So when the injury happened, it was devastating.
It took me several weeks to reset mentally and develop a consistent recovery plan. Looking back, I wish I had stopped experimenting sooner and focused on the strategies that ultimately helped me recover.
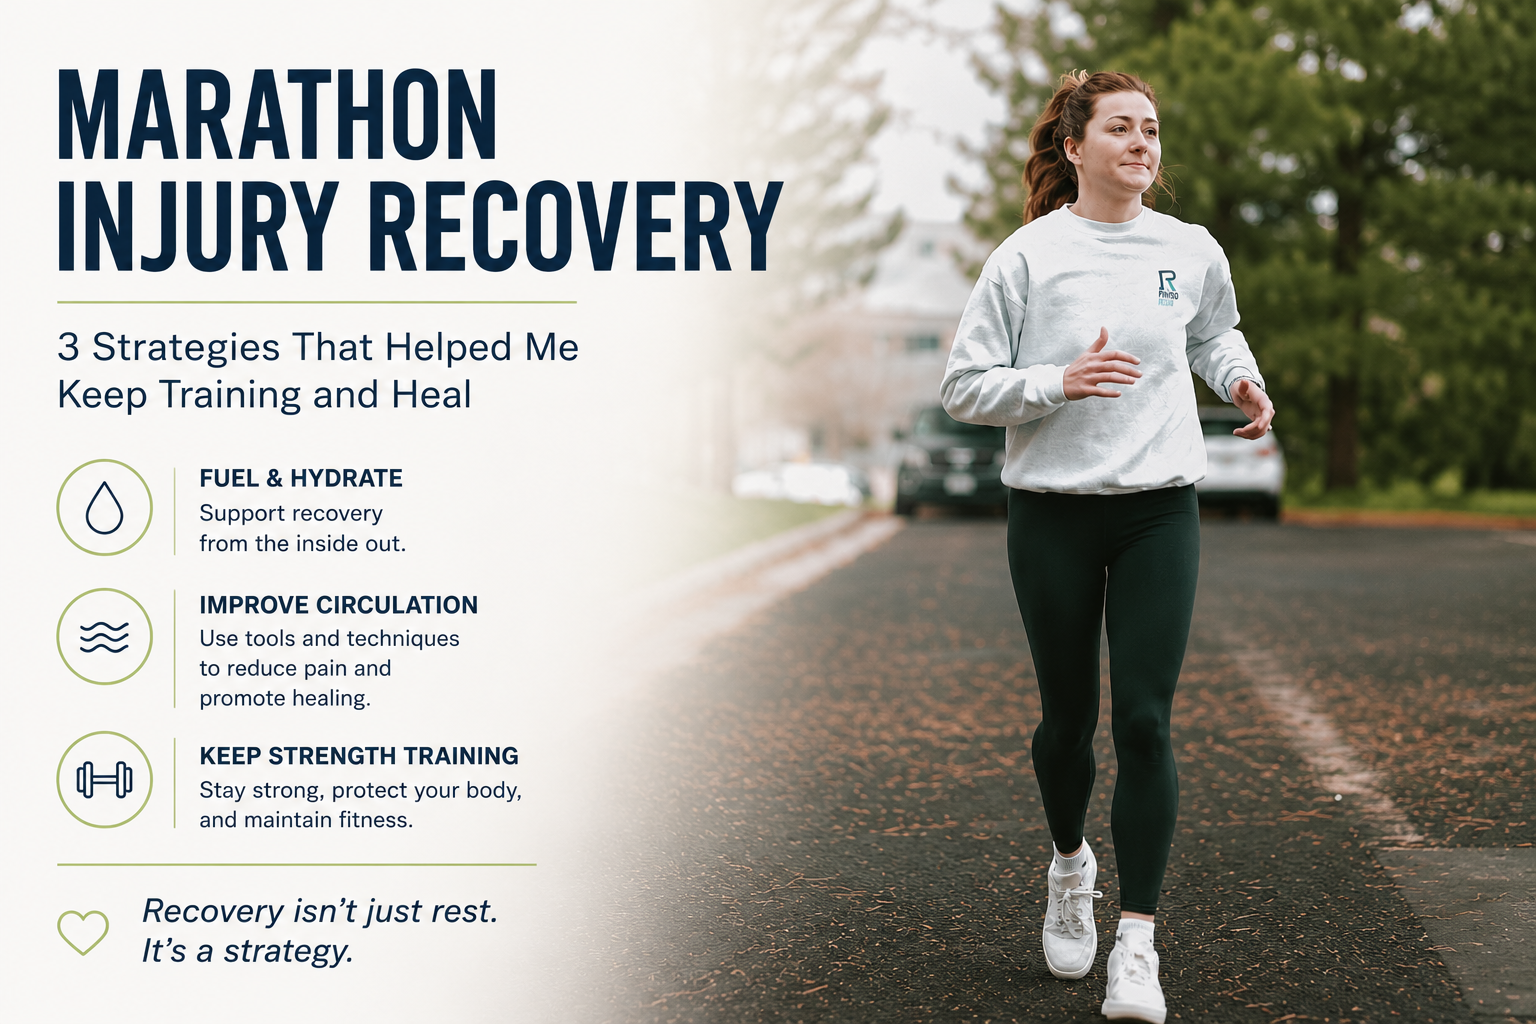
Here are the three things that made the biggest difference.
1. Fuel and Hydrate for Recovery
One of the most important things I focused on was supporting my recovery through proper nutrition and hydration.
After hard workouts—especially strength training and long runs—your muscles are primed to absorb nutrients that help repair tissue and restore energy stores. If those resources aren’t replaced, recovery slows down and irritated tissues can remain sensitive for longer.
During my recovery, I made it a priority to:
- Eat carbohydrates after training to replenish glycogen stores.
- Consume enough protein to support muscle repair (around 1 gram per pound of body weight).
- Fuel within 20–30 minutes after workouts.
- Increase my daily water intake and supplement with electrolytes.
Hydration also plays a major role in tissue health. Muscles and connective tissues rely on adequate fluid for circulation, nutrient delivery, and elasticity. When you’re properly fueled and hydrated, your body is simply better equipped to recover.
2. Use Tools That Improve Circulation and Reduce Sensitivity
One of the most effective recovery tools I used was Blood Flow Restriction (BFR) training, recommended by Dr. Katie Sasser at Physio Room’s Highlands Ranch clinic.
BFR uses a specialized cuff placed high on the limb to partially restrict venous blood flow while still allowing arterial blood into the muscle. This creates a metabolic response similar to heavy strength training while using very light loads, allowing you to build strength and improve circulation without placing excessive stress on injured tissue.
My BFR program consisted entirely of bodyweight exercises, including:
- Straight leg raises
- Marching
- Step-ups
- Reverse lunges
- Copenhagen planks
- Side planks
- Side-lying leg raises
Despite using minimal resistance, these exercises were incredibly challenging and surprisingly effective.
I also used kinesiology tape and a compression sleeve when I returned to running.
While these tools don’t “hold muscles together,” they can improve circulation and reduce pressure on pain-sensitive receptors within the tissue. For me, they noticeably decreased the sensitivity around my hip flexor and allowed me to run more comfortably.
3. Keep Strength Training (and Cross-Training)
One of the best decisions I made during recovery was continuing to train instead of stopping altogether.
Rather than pushing through pain, I modified my strength program by focusing on:
- Isometric exercises (long holds against resistance)
- Strengthening the muscles surrounding my hip
- Working only within pain-free or minimally painful ranges of motion (no more than 3/10 pain)
- Gradually increasing my range of motion over time
Some of the exercises that helped me the most included:
- Split-stance overcoming isometrics
- Split squats using catch bars to control hip flexion
- Barbell hip thrusts
- Bulgarian split squats
- Barbell Romanian deadlifts
- Landmine single-leg Romanian deadlifts
- Stagger-stance box squats
These movements kept my glutes, hamstrings, and core strong, reducing the workload placed on my injured hip flexor.
I also incorporated stationary bike workouts to maintain my aerobic fitness while temporarily reducing my running volume.
Working closely with my coach to manage training allowed me to stay fit, continue making progress, and maintain confidence throughout the recovery process.
The Biggest Lesson
This injury reminded me that recovery isn’t just about waiting for pain to disappear.
It’s about actively creating an environment that allows your body to heal.
Fueling well, staying hydrated, improving circulation, and maintaining strength helped me continue moving forward—even when my training didn’t go according to plan.
In the end, recovery wasn’t about doing less.
It was about doing the right things consistently.

Written by By Cassie Santana, PTA, CSCS, NASM | Physio Room
Connect with Physio Room:
Find Us On Our Socials
Website
Instagram
Facebook